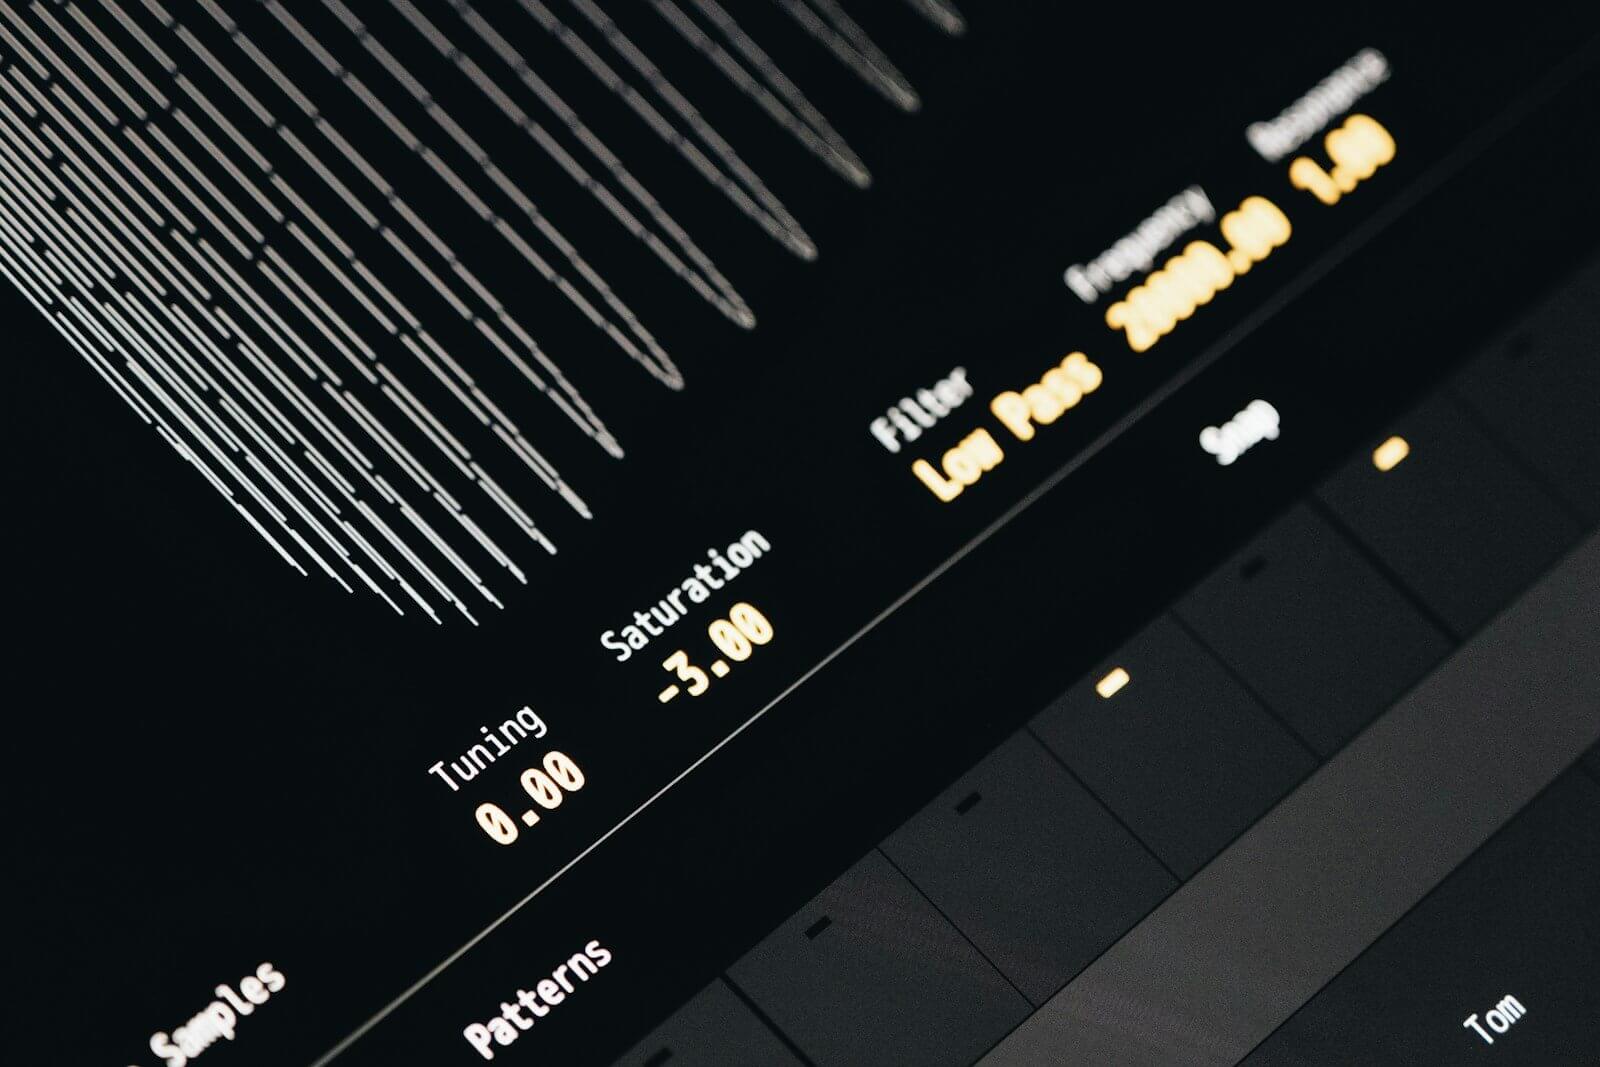
Saturation is distortion used gently. It adds harmonics above the notes you’re already playing, so a sound feels thicker, warmer and easier to hear in a mix, without sounding distorted. Push the same process harder and it becomes overdrive, then outright distortion. They’re the same effect at different strengths.
That’s why the most common question about it is how much to use. This guide explains what saturation does, the four main types, a simple way to tell when you’ve gone too far, and which saturation plugins on Plugin Boutique are worth a look.
This article draws on Become a Competent Music Producer in 365 Days by Sam George, which covers saturation in its compression, vocals and mastering units. You can buy it from the independent bookshop Backstory.
Saturation at a Glance
| Type | What it adds | Try it on | Plugin to try |
|---|---|---|---|
| Tape | Weight in the low end, softer peaks, glue | Mix bus, drums, whole mixes | Softube Tape |
| Tube (valve) | Warm, full harmonics | Vocals, bass, keys | AudioThing Valves |
| Console | Density and a little compression | Groups, mix bus, masters | SSL Fusion Vintage Drive |
| Clipping and distortion | Grit, edge, aggression | Drums, bass, synths, effects | Decapitator (Punish on), Grind |
What Saturation Actually Does
Every note you hear has a fundamental, the pitch you’d name, and a set of quieter harmonics above it. Saturation adds more of those harmonics. Which ones it adds, and how many, depends on the circuit or the plugin modelling it.
More harmonics means more frequencies in the sound, spread across more of the spectrum. That’s why a saturated bass or vocal sounds fuller and comes forward in the mix even when its fader hasn’t moved.
Saturation also rounds off the tops of loud peaks. That gently reduces the dynamic range, which is part of why it sounds thicker and louder. It’s also why heavy saturation can flatten the punch out of drums.
In the analogue days nobody had to add saturation on purpose. It came free with the gear. Preamps, mixing consoles and tape machines all coloured the signal a little, and each model did it differently. That’s why some vintage units are so sought after, and why so many plugins now try to copy them. The original 1176 compressor is a good example: only 25 were built in the first run, and it has been revised and copied ever since. (If you want that sound, see our 1176 Classic Limiter Collection page.)
The Four Types of Saturation
Tape
Recording onto analogue tape smooths the peaks and adds a slight bump in the low end. Many engineers still run their finished mix through a tape plugin for that reason. It’s the gentlest of the four and the easiest place to start.
Tube (valve)
Tube saturation adds strong second-order harmonics, which most people hear as warmth. It suits vocals, bass and keys. Push it harder and it turns into the overdrive you’d get from a guitar amp.
Console and transformer
This is the sound of driving a mixing desk into its sweet spot. It adds density and some soft compression rather than obvious grit, so it works well across a group of tracks or the whole mix.
Clipping and distortion
At the far end, the peaks are cut off hard. That’s the sound of distorted drums, fuzzy bass and aggressive synths. Used in small amounts on a parallel channel, it can make drums cut through a busy mix.
How Much Saturation Is Too Much?
There’s no fixed number, because every plugin’s Drive knob behaves differently. What you can do is make sure you’re judging the sound and not the volume.
1. Match the levels. Saturation makes things louder, and louder nearly always sounds better for a few seconds. Turn the output down until the saturated sound is the same level as the original, then switch the plugin on and off. Many saturators have an auto gain or output control to help with this. If it only sounded better because it was louder, you’ll hear that straight away.
2. Turn it up until you can hear it, then back it off. Start with the drive at zero and raise it slowly while the track plays. When you can clearly hear the effect, pull it back a little. On a mix bus or master, keep it subtle enough that you only notice it when you switch it off.
3. Use the Mix knob. Blending some of the dry signal back in (parallel saturation) lets you keep the punch of the original while adding the thickness of the saturated copy. Decapitator, Saturn 2 and SSL Fusion Vintage Drive all have one.
4. Watch the top end. Saturating high frequencies quickly sounds harsh and makes cymbals and vocals tiring to listen to. If the sound turns brittle, back the drive off or roll off some top with the plugin’s tone control.
5. Turn on oversampling. If the plugin offers it, set it as high as your computer will handle. It cuts down the harsh side effects that digital distortion can produce.
6. Spread it out. A little saturation on several tracks usually sounds better than a lot on one. If you’ve added it to the drums, the bass and the mix bus, check each one again before you add more.
Signs you’ve gone too far: the drums have lost their snap, the mix feels flat and loud with nothing standing out, the top end sounds fizzy, or the effect stays obvious after you’ve matched the levels.
Where to Use Saturation
Vocals. Light saturation makes a vocal brighter and helps it hold its own against the backing. Try it on the vocal itself, or on a parallel copy you blend underneath.
Bass. Small speakers and earbuds can’t reproduce much deep bass. Saturation adds harmonics higher up the spectrum, so the bass line can still be heard on a phone.
Drums. Tape softens harsh peaks on a drum bus. Heavier saturation on a parallel channel adds grit without losing the transient on the dry signal.
Mix bus and master. Here, tape saturation usually goes before the limiter and stays subtle. You can automate the amount so the chorus gets a touch more weight than the verse.
If you’re still learning compression, read Compression for Beginners next. The two overlap, because many analogue-style compressors add saturation of their own.
The Best Saturation Plugins on Plugin Boutique
Prices below are the normal US prices. All of these go on sale regularly, so check the current price before you buy.
Soundtoys Decapitator: the all-rounder
Decapitator models five pieces of studio hardware, including consoles, preamps and distortion units, and lets you choose between them. It has a tone control, a Mix knob for parallel saturation and a Punish button that adds a big jump in gain when you want it to sound broken. It goes from very subtle to very loud, which makes it a good first saturator. Normal price: $199.
FabFilter Saturn 2: the most control
Saturn 2 has 28 distortion styles, from subtle tube and tape to guitar amps and bit crushing. It can split the sound into up to six bands and saturate each one differently, so you can thicken the low mids and leave the top end clean. It also has oversampling up to 32x and mid/side processing. It has more controls than anything else here, so it takes longer to learn. Normal price: $149.
Softube Tape: the easiest
Tape gives you three tape machine types (a precise Swiss machine, a heavier transformer-based one and a vintage British one) and an Amount knob. Slower tape speeds add more of the low-end bump. It’s light on CPU, so you can put it on every track if you want to. Normal price: $99.
SSL Fusion Vintage Drive: console colour
Vintage Drive comes from the drive section of SSL’s Fusion hardware. Two controls, Drive and Density, work together to add harmonics, soft clipping and some natural compression. Auto Gain keeps the output level steady while you push it, which makes level-matched comparisons easy. There’s also a zero-latency ECO mode for recording. Normal price: $99.
AudioThing Valves: cheap tube grit
Valves is a tube overdrive with a resonant filter and eight speaker cabinet models. The filter can go before or after the tube stage, and the cabinets and bass and treble controls let you shape it like a guitar amp. It has up to 16x oversampling. Normal price: $59.
Audio Damage Grind: free
Grind is free on Plugin Boutique. It has eleven saturation and distortion algorithms followed by a multi-mode filter. Audio Damage say it’s built for heavy distortion rather than subtle work, but it can be tamed for gentle saturation. It’s one of our best free plugins.
Your DAW probably has a saturator built in as well. Learn it first. The steps above work with any of them.
Saturation FAQs
Is saturation the same as distortion?
Yes, at a lower strength. Saturation is gentle distortion. Overdrive sits in the middle, and distortion is the heavy end.
Do I need a saturation plugin?
No. Many DAWs include one, and plenty of compressors, EQs and tape delays add saturation of their own. A dedicated saturator gives you more control over how much and what kind.
Should saturation go before or after compression?
Either works. Before the compressor, it adds harmonics that the compressor then controls. After, it rounds off the peaks the compressor lets through. Try both and listen with the levels matched.
Can I put saturation on the master?
Yes, if it’s subtle. Put it before your limiter, match the levels, and avoid saturating the high frequencies, which turns harsh quickly.
Why does everything sound better with saturation on?
Usually because it’s louder. Turn the output down until the saturated and dry versions are the same level, then compare again.
Sources
- Sam George, Become a Competent Music Producer in 365 Days (Routledge, 2023): Unit 4, Day 26 (colouring your sound); Unit 8, Day 22 (saturation and distortion); Unit 10, Day 20 (saturation in mastering).
- Plugin Boutique product pages for Decapitator, Saturn 2, Tape, SSL Fusion Vintage Drive, Valves and Grind (October 2026).